How to Dismantle a Garden Shed UK: Step-by-Step Guide
If your garden shed has reached the end of its life, it may be time to take it down. According to the Office for National Statistics (ONS), the median UK garden size is 188 square metres, though this varies greatly depending on location, from just 16 square metres in central London to over 700 square metres in parts of Scotland. With so many different garden sizes across the country, sheds remain one of the most common and practical garden features. The good news is that taking one down is often easier than building it, and with the right tools and a step-by-step approach, you can get the job done without too much stress. In this guide, we’ll walk you through how to dismantle a garden shed in the UK, giving you clear instructions, safety advice, and tips for eco-friendly disposal. Whether you’re making space for a new Eden Shed or simply tidying your outdoor area, you’ll find everything you need to know here.
Gather The Tools You Need
Preparation is key to a smooth shed removal. Before you start pulling anything apart, gather the tools you’ll need for the job. A drill or screwdriver will make light work of fixtures, while a claw hammer and crowbar will help remove stubborn nails and panels. You may also need an adjustable wrench or pliers for bolts, as well as a ladder if your shed has a tall roof. A saw can come in handy for any particularly tough or rotten sections.
Safety equipment is just as important. Sturdy gloves, protective goggles, and steel-toe boots will help you avoid splinters, cuts, or dropped boards. A dust mask is useful too, especially if your shed is old and dusty. And don’t forget the most valuable tool of all, an extra pair of hands. Some parts, particularly the roof and wall panels, can be heavy and awkward to move on your own.
Precautions before dismantling a shed
It’s worth taking a few precautions before you start. Check that you don’t need any permissions in your area, though most garden sheds fall under permitted development. Take care with old fittings, nails and screws are often rusty and sharp, so move slowly and keep your gloves on. Once the roof comes off, the shed may become unstable, so work cautiously and, if needed, use temporary supports to steady the structure. Finally, look out for any wildlife that may have taken shelter inside. Old sheds can sometimes house spiders, bees, or even mice.
Step 1: Remove the windows and doors
The first step is to remove the most fragile parts of the shed. Start with the windows by carefully taking out the glass panes so they don’t shatter. Once the glass is safely stored, you can unscrew or pry away the window frames. Do the same for the doors, removing the hinges, locks, and screws before lifting them out. Keep all screws and fittings in a safe spot, you may wish to reuse them or keep them as spares for future projects.
Step 2: Clear the roof boards
The roof is usually the heaviest and trickiest part of the shed, so don’t attempt it alone. Begin by stripping away the roof felt using a hammer or prising tool. Once the covering is gone, unscrew or lever away the roof panels section by section. If you have an apex shed, you’ll also need to unscrew the gables. Removing the roof reduces the shed’s stability, so take extra care at this stage and make sure someone is helping to hold panels steady as you work.
Step 3: Dismantle the walls
With the roof out of the way, you can move on to the walls. Start from the outside and remove nails or screws one by one. If your shed is an overlap style, panels can usually be pried off with a hammer or crowbar. For tongue-and-groove panels, a drill may be better, especially if you plan on reusing the wood. If the shed is older, you might need to brace the remaining walls with temporary timber supports so they don’t collapse unexpectedly while you’re working.
Step 4: Take down the floorboards
Once the walls are gone, only the floor remains. Clear any debris before you begin, then unscrew or pry up the floorboards panel by panel. Some floors are built in sections, making them easier to lift out once the screws are gone. If your shed has a base underneath, such as concrete, wood, or plastic, check its condition. You may be able to reuse it if you’re planning to install a new shed in the same spot.
Step 5: Tidying up leftovers
As you dismantle your shed, take the time to keep things organised. Stack wall panels neatly so they don’t become a tripping hazard, and collect nails and screws in a container so they don’t end up scattered across the garden. By tidying as you go, you’ll make disposal or recycling much quicker once the dismantling is complete.
Step 6: Extra tips
There are a few small things that can make the job easier. Always wear gloves when handling rotten wood, as it can crumble and cause splinters. If you’re planning to reuse parts of the shed, use a marker or duct tape to label panels as you go. Keep dismantled pieces on a flat, stable surface, and never try to move particularly heavy sections on your own. Shed dismantling is a straightforward task, but it’s also physical work, so pace yourself and take breaks when needed.
Environmentally Friendly Disposal
Once your shed is down, it’s time to decide what to do with the leftover materials. The best option is to recycle as much as possible. Take wood, metal, and glass to your local recycling centre, and remember that treated timber should never be burned as it can release harmful chemicals. If the panels are in good condition, consider giving them away online through free recycling sites, someone may want to repurpose them. At Eden Shed, we believe in building sheds that last, but when the time comes to replace them, we encourage every customer to dispose of old ones responsibly. That’s why our Client business works hard to design products with sustainability in mind.
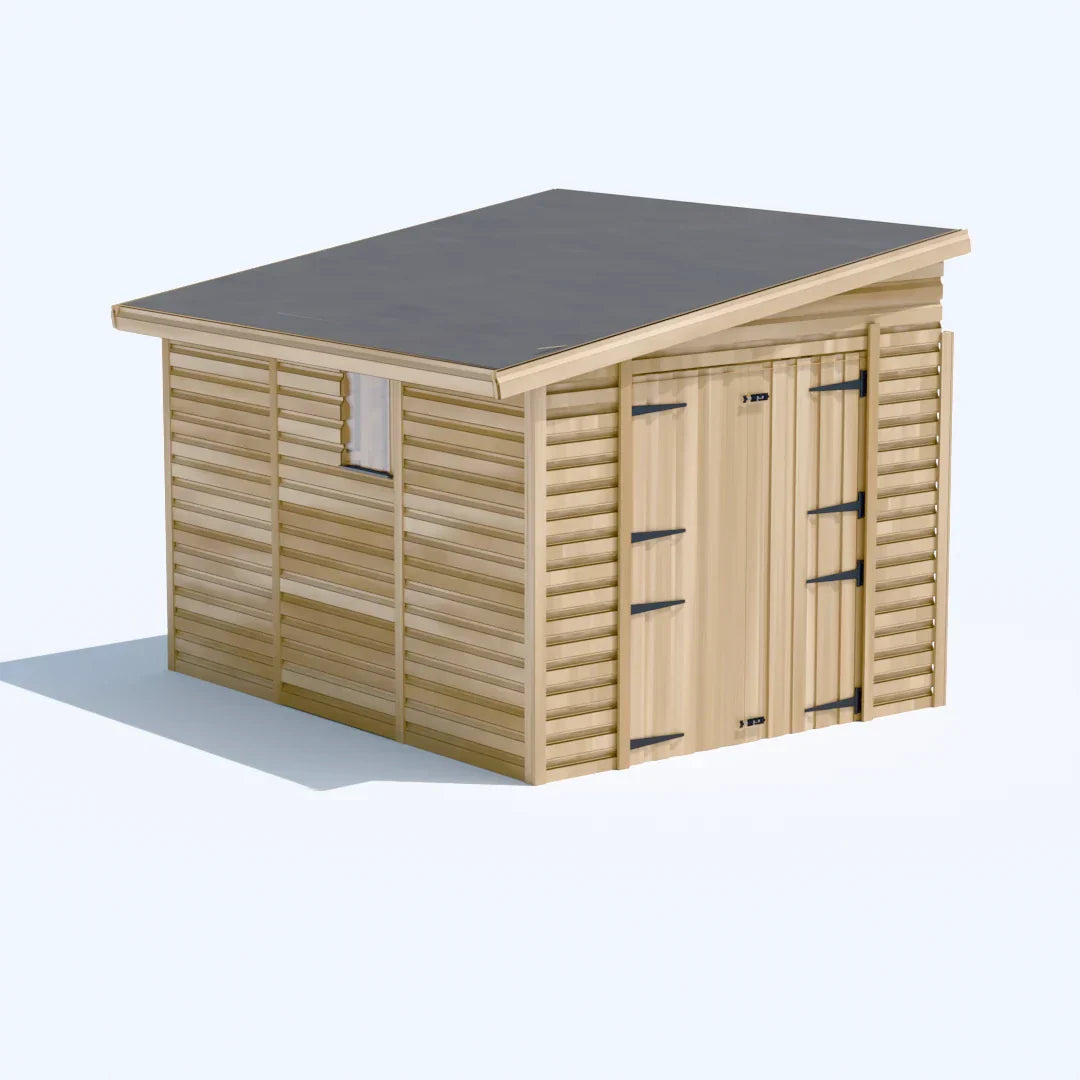
Replacing Your Shed
After dismantling an old shed, you might be ready for an upgrade. Eden Shed offers a wide range of handcrafted, durable sheds made in the UK, designed to suit everything from simple storage needs to workshops and hobby spaces. With nationwide delivery and a variety of sizes and styles, finding the right replacement shed has never been easier.